- General
- Updated on August 29, 2025
DIY Scented Candles: Tips for Making Your Own at Home
Introduction
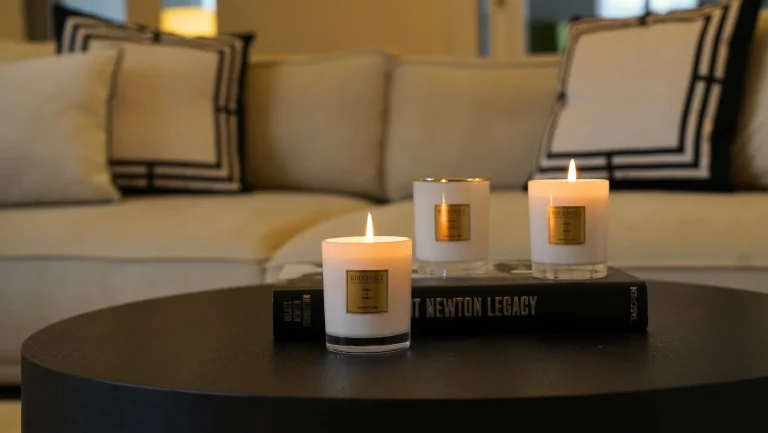
Scented candles are more than just decorative items—they create ambiance, uplift moods, and bring a sense of warmth and relaxation to any space. While store-bought candles are convenient, making your own at home allows you to customize scents, choose natural ingredients, and add a personal touch to your home décor. With the right materials, techniques, and safety precautions, crafting your own candles can be both enjoyable and rewarding. This guide offers step-by-step tips for creating beautiful, fragrant candles at home.
Why Make Your Own Candles?
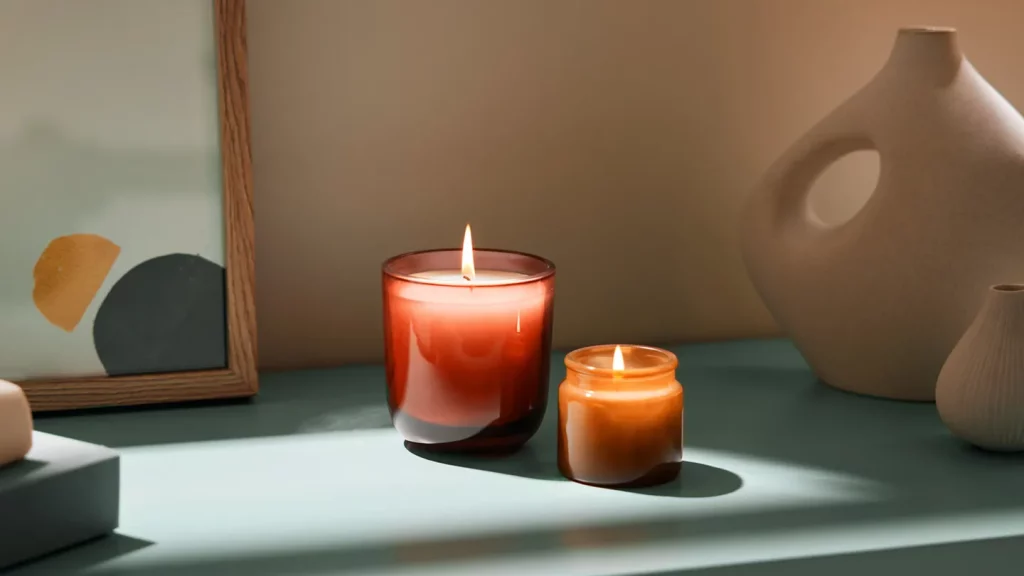
Making your own candles at home offers a level of control and personalization that store-bought products simply cannot match. When you craft candles yourself, you decide exactly what goes into them, from the type of wax to the fragrance and any added colorants or botanicals. You can choose natural waxes such as soy or beeswax, which burn cleaner and are environmentally friendly, or experiment with blends to achieve different textures and burn qualities.
The scent is entirely up to you. You can use essential oils for natural aromas, fragrance oils for bold and long-lasting scents, or combine multiple oils to create your own signature blend. This freedom allows you to tailor your candles to your mood, preferences, or even the season. Beyond fragrance, you can experiment with colors, shapes, and containers, making each candle a true reflection of your creativity. From layered candles with multiple colors to uniquely shaped molds or decorative jars, the possibilities are endless.
DIY candles also make thoughtful, personalized gifts. Instead of generic store-bought candles, you can craft scents, colors, and designs that suit the personality and preferences of friends and family. A handmade candle carries intention and care, making it a meaningful present for birthdays, holidays, or special occasions.
In addition to the creative and gifting aspects, making candles is a mindful, stress-relieving activity. The process of melting wax, blending scents, and pouring carefully can be meditative, helping you slow down and focus. Watching the wax solidify and seeing your creation come to life provides a sense of accomplishment and satisfaction. For many, candle-making is more than a hobby—it’s a relaxing ritual that sparks creativity, reduces stress, and brings a touch of warmth and beauty to everyday life.
Essential Materials for DIY Candles
To get started, you’ll need a few basic materials:
- Wax: Soy wax, beeswax, or coconut wax are popular for home candle making. Soy and beeswax are natural and burn cleaner than paraffin.
- Wicks: Choose the right size wick for your container and wax type. Cotton or wood wicks are commonly used.
- Containers or Molds: Glass jars, tins, or silicone molds can be used depending on the style of candle you want.
- Fragrance Oils or Essential Oils: Essential oils offer natural scents, while fragrance oils provide a wider variety of aromas.
- Double Boiler or Heat-Safe Pot: A double boiler ensures gentle, even melting of the wax.
- Thermometer: Monitoring the temperature prevents overheating and preserves fragrance integrity.
- Stirring Tools: Wooden sticks or silicone spatulas work well for mixing wax and fragrance.
Choosing the Right Wax
The type of wax you select influences the candle’s burn time, scent throw, and safety.
- Soy Wax: Natural, eco-friendly, and easy to work with. It holds scent well and burns evenly.
- Beeswax: Naturally fragrant and burns slowly. It produces minimal soot but has a higher melting point, which requires careful handling.
- Coconut Wax: Soft and creamy, offering excellent fragrance retention and long burn times.
Avoid paraffin wax if you want a natural, toxin-free option.
Selecting Scents and Fragrances
The fragrance of a candle is its defining feature—it sets the mood, evokes memories, and creates an atmosphere in any room. When making your own candles, you have the freedom to select scents that match your personality, mood, or purpose. You can use essential oils for natural, therapeutic aromas, fragrance oils for stronger or more diverse scents, or combine both to achieve a custom balance.
Creating custom scent blends can elevate your candles from ordinary to unique. Pairing complementary aromas allows you to craft distinctive experiences. For instance, lavender and vanilla can produce a calming, soothing effect, perfect for a bedroom or relaxation space. On the other hand, citrus and mint create a refreshing and energizing aroma, ideal for a home office or kitchen. You can experiment with ratios and combinations to discover your signature scent profile, tailoring the candle to your personal taste.
It’s also important to consider the temperature at which you add fragrance. Some essential oils are heat-sensitive and can lose their aromatic properties if added to wax that is too hot. Typically, adding oils once the melted wax has cooled slightly—but is still pourable—helps preserve their natural scent and ensures a consistent fragrance throw when the candle burns.
By thoughtfully selecting and blending scents, you can create candles that are not only visually appealing but also powerfully aromatic, enhancing your living space with personalized fragrances that reflect your creativity and intent.
Preparing Your Containers and Wicks
Proper preparation of your containers and wicks is essential for creating a candle that burns evenly and safely. Before you pour any wax, make sure your containers are clean, dry, and free of dust or debris. Even small particles or moisture can affect the wax as it sets, potentially causing bubbles, uneven surfaces, or poor adhesion between the wax and the container.
Centering the wick is a critical step in achieving a smooth, uniform burn. Use a wick holder, pencil, or chopstick to keep the wick upright and centered while pouring. For extra stability, you can secure the base of the wick with a small dab of melted wax or a wick sticker. Proper placement ensures that the wick stays straight as the wax hardens and that the candle burns evenly from edge to edge.
Correct wick placement also prevents tunneling, a common issue where the wax burns down the middle, leaving unused wax along the sides. Tunneling not only wastes wax but can also reduce the fragrance throw and overall efficiency of the candle. By carefully preparing your container and securing the wick, you set the foundation for a candle that is safe, aesthetically pleasing, and enjoyable to burn.
Melting and Pouring the Wax
- Use a double boiler to melt the wax gradually, avoiding direct heat that can scorch it.
- Monitor the temperature with a thermometer. Most waxes should be poured between 120–180°F, depending on type.
- Remove from heat and stir in fragrance oils. Mix thoroughly to ensure even distribution.
- Carefully pour the wax into your prepared container, leaving some space at the top.
Cooling and Setting
Allow the candle to cool undisturbed for several hours or overnight. Avoid moving the container while the wax sets, as this can create uneven surfaces or air bubbles. For a smoother finish, you can gently press the surface with a spatula or use a heat gun to slightly melt the top layer.
Trimming the Wick
After the candle has fully set, trim the wick to approximately ¼ inch. This ensures a clean, controlled burn and prevents excessive smoke.
Safety Tips for Candle Making
- Always work in a well-ventilated area.
- Use heat-resistant containers and never leave melting wax unattended.
- Keep flammable materials away from your workspace.
- Avoid overheating wax, as it can catch fire.
- Test small batches before experimenting with new scents or containers.
Tips for Personalizing Your Candles
- Color: Add natural colorants or dye chips to create vibrant candles.
- Layers: Make layered candles by pouring different colored waxes sequentially.
- Embeds: Add dried flowers, herbs, or decorative objects, but ensure they do not interfere with the wick or flame.
- Custom Labels: Personalize your jars with labels, hand-lettering, or stickers for gifts or home décor.
Also Read: The Meaning and History of Dream Catchers: More Than Just a Beautiful Decoration
Conclusion
Making your own scented candles is a fun, creative, and rewarding process. It allows you to experiment with scents, colors, and designs while enjoying the satisfaction of producing something beautiful and useful. With careful attention to wax selection, fragrance blending, and safety practices, your DIY candles can enhance your home’s ambiance, serve as thoughtful gifts, or even become a small creative business venture. By following these tips, anyone can confidently craft high-quality scented candles that bring warmth and fragrance to any space.
Join the discussion
Related Articles
No results available
ResetTrending Articles

- General
- Updated on January 13, 2026


- Health
- Updated on January 9, 2026


- General
- Updated on January 7, 2026


- Health
- Updated on January 3, 2026
- General
- Updated on January 5, 2026


- General
- Updated on January 1, 2026


- General
- Updated on December 27, 2025


- General
- Updated on December 22, 2025


- General
- Updated on December 20, 2025


- General
- Updated on December 16, 2025
No results available
Reset
